Easy Apple Crumble Recipe in Just 40 Minutes With a Buttery Cinnamon Oat Topping
Most apple crumble recipes promise 40 minutes but skip the variables that actually decide whether yours is ready in 30 or 55.
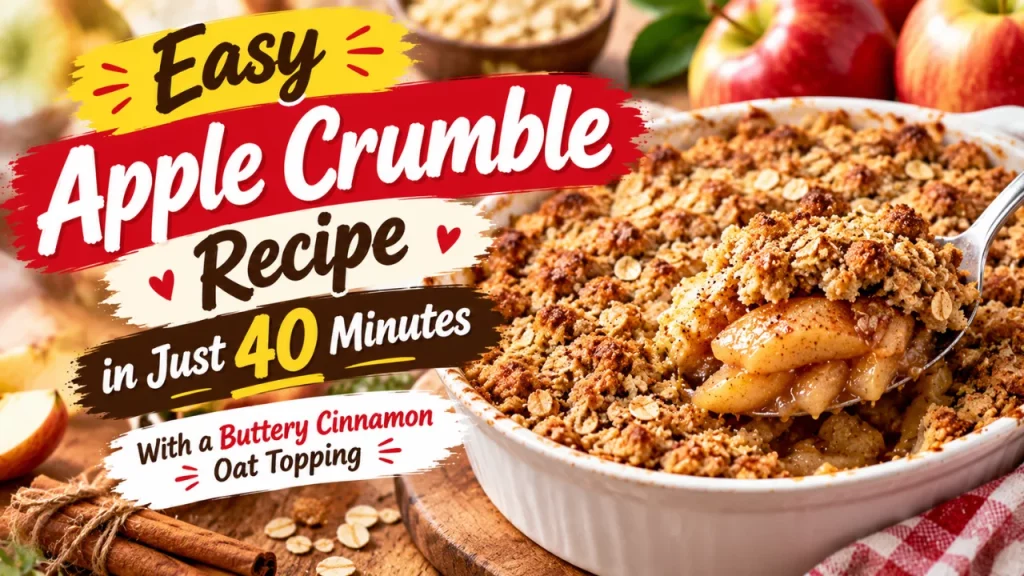
The kitchen smells like warm cinnamon before the timer has even hit the halfway mark. Juice is bubbling up thick and dark at the edges of the dish, the oat topping has gone from pale and crumbly to deep gold, and the whole house suddenly feels like it should be colder outside. Then you open the oven, poke a knife into the center, and the apples underneath are still faintly crisp. The clock says forty minutes. The crumble disagrees.
This is the part that gets left out of most quick-recipe write-ups: the forty-minute figure is an average, not a guarantee. It assumes a specific oven temperature, a specific dish size, apples of a specific type, and a crumble topping mixed a specific way. Change any one of those and the real cooking time can shift by ten or fifteen minutes in either direction. None of that makes the recipe harder. It just means the clock is a guideline and the apples and topping are the real signal.
Step 1: Pick apples that can survive the oven
Not all apples behave the same way under heat. Some varieties, the kind that are crisp and tart, hold their shape and release their juice slowly. Others, especially softer, sweeter varieties, break down fast and can turn the filling watery or mushy well before the topping has browned. A mix of a firmer tart apple and a softer sweet one usually gives the best balance of structure and flavor, but if you only have one kind on hand, lean toward the firmer, tarter option and add a little extra sugar rather than switching to a softer apple for sweetness alone.
Tip: Cut the apples into even pieces, roughly the same thickness throughout the dish. Uneven pieces mean some cook through while others stay hard, and that unevenness is one of the most common reasons a crumble seems “done” on top but not underneath.
Step 2: Manage the moisture before it goes in the oven
A soggy crumble is almost always a moisture problem that started before baking, not during it. Apples release a surprising amount of liquid as they cook, and if that liquid has nowhere to go, it pools under the topping and turns it gluey. Tossing the sliced apples with a small amount of flour or cornstarch before they go into the dish helps that juice thicken into a glossy sauce instead of sitting as watery runoff. A squeeze of lemon juice also slows browning and balances the sweetness without needing extra sugar.
Tip: If your apples look especially juicy once sliced, let them sit in a bowl with the sugar and lemon for a few minutes before assembling. Drain off a spoonful or two of the liquid that collects. You are not losing flavor, you are preventing a puddle.
Step 3: Build a topping that stays crumbly, not pasty
The texture of the topping depends almost entirely on how the butter is handled, something most quick recipes mention only in passing. Cold butter, cut or rubbed into the flour and oats until the mixture looks like coarse crumbs with some pea-sized lumps, bakes up crisp and distinct. Butter that has softened or melted before mixing tends to bind the topping into a flatter, denser layer that behaves more like a cookie than a crumble. The oats matter too: old-fashioned rolled oats hold their shape and give a heartier bite, while quick oats soften faster and produce a finer, less crunchy texture.
Tip: Mix the topping with your fingertips rather than a spoon. You want to feel when the butter has broken into the right size pieces, which is hard to judge by sight alone.
Step 4: Bake by sight and sound, not just the clock
This is the single biggest gap in how apple crumble gets covered. A stated bake time assumes your oven runs exactly at its displayed temperature, which many home ovens do not. It also assumes a particular dish size and depth, since a wide, shallow dish cooks faster than a deep, narrow one holding the same amount of filling. The two real signs of doneness are visual: the topping should be a solid, even golden brown rather than pale in the center, and the filling should be bubbling actively at the edges, not just gently steaming. If you don’t see thick, slow bubbles pushing up around the rim, the fruit likely isn’t fully softened yet, no matter what the timer says.
The minutes on a recipe are a starting estimate, not the actual test for doneness. The crumble is ready when the topping is evenly browned and the filling is visibly bubbling at the edges, not when a number on a timer runs out.
Tip: If the topping is browning too fast while the center is still firm, loosely cover the dish with foil for the remaining time. This lets the fruit keep cooking without burning the top.
Step 5: Let it rest before serving
Pulling a crumble straight from the oven to the table is tempting, but the filling is still thin and scalding at that point. Resting it for a short while lets the thickened juices settle and firm up slightly, so the first serving holds together instead of sliding apart into syrup. This also protects your mouth from the kind of fruit filling that stays dangerously hot well after the topping has cooled.
Tip: Resist the urge to refrigerate it to speed cooling. A gradual rest at room temperature keeps the topping crisp; sudden cold can make it go slightly soggy from condensation.
Common Mistakes
- Trusting the stated bake time over the visible bubbling and browning, especially in an oven that hasn’t been checked for accuracy with a separate thermometer.
- Using only very soft, juicy apples, which can turn the filling watery and mask the texture of the topping entirely.
- Skipping the flour or cornstarch step in the filling and ending up with thin, runny juice instead of a glossy sauce.
- Softening or melting the butter for the topping, which flattens the texture instead of keeping it crumbly.
- Cutting apple pieces in wildly different sizes, so some turn to mush while others stay underdone.
- Serving it piping hot straight from the oven, when a short rest would give a cleaner, better-set result.
