Wood-Fired Stuffed French Toast: Crispy Outside, Creamy Inside
Most wood-fired French toast recipes are never actually tested over a real fire — here's what that gap means for your breakfast.
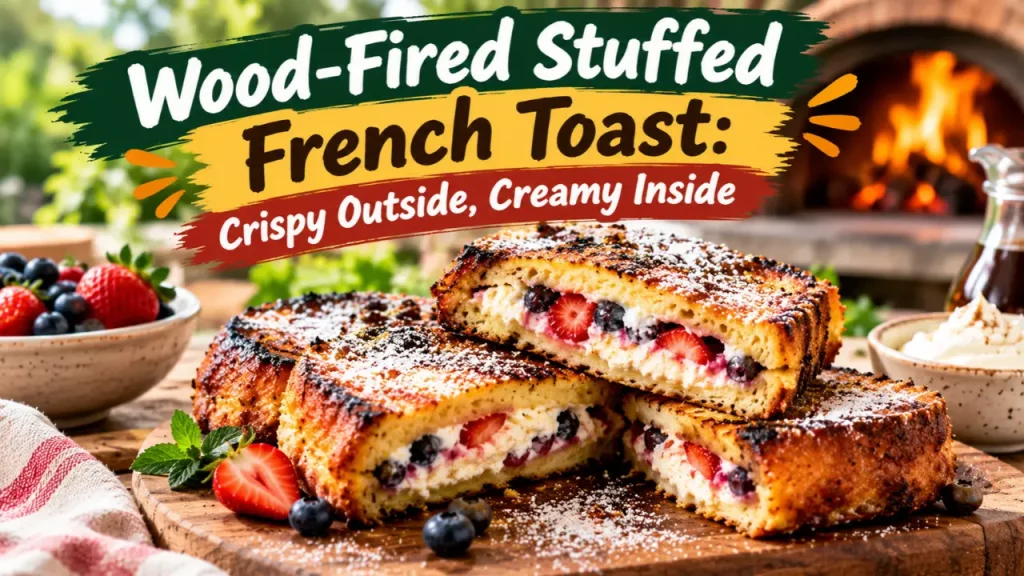
Here is the detail almost no recipe admits: the vast majority of “wood-fired” stuffed French toast instructions circulating online were developed on a stovetop or in a conventional oven, then relabeled for a wood-fired setup without anyone actually re-testing them over real flame. A wood-fired oven or grill doesn’t behave like a gas burner with a rustic backstory attached. It swings in temperature by zones, it breathes oxygen unevenly, and it punishes recipes that assume a flat, controllable heat source. That mismatch is the real reason home cooks end up with toast that’s either blackened on one corner and raw in the middle, or soft all the way through with none of the promised crackle.
Getting a genuinely crisp crust with a molten, creamy center over live fire is not just about a good filling and a hot surface. It’s about managing heat that moves, bread that behaves differently depending on age and thickness, and a filling that has to survive real temperature swings without breaking or leaking. None of that gets discussed when the focus stays on plating shots. Here is the version that accounts for it.
Step 1: Choose bread that can survive direct heat without drying out
Fresh, soft sandwich bread is the single biggest setup for failure. It absorbs custard unevenly, tears when you try to stuff it, and scorches before the center warms through. A dense, slightly stale loaf — brioche, challah, or a thick-cut country loaf left out overnight — holds its structure, soaks custard more evenly, and gives the crust something firm to crisp against instead of collapsing into mush.
Tip: If your bread is fresh, don’t skip the staling step. A low, slow pass in a conventional oven for a short time to dry the surface does more for the final texture than any amount of extra cooking over the fire.
Step 2: Build a filling that won’t liquefy near flame
Soft cream cheese or ricotta mixtures are popular because they taste great, but many thin out fast once they’re near real heat, and a runny filling is what causes the classic blowout where the custard-soaked seam splits and everything leaks onto the grates. A filling that’s been chilled firm, mixed with just enough sugar and egg to bind it, and spread thick rather than thin holds its shape far longer under uneven fire than a loose, whipped version.
Tip: Chill the stuffed and sealed sandwiches for a short rest before they go anywhere near the fire. Cold filling buys you a wider margin before it starts to loosen.
Step 3: Seal the edges properly, not just the top
Most instructions mention pressing the bread together but skip the part that actually matters: sealing the full perimeter, not just the top seam. Heat finds the weakest point first, and if the sides are left open, filling pushes out there instead of staying contained. Pressing a fork around all four edges, or trimming and pinching the crust shut, keeps the stuffing where it belongs through the whole cook.
Tip: A light egg wash brushed along the inside edges before pressing acts as glue and helps the seal hold even as the bread expands slightly from the custard.
Step 4: Respect that wood fire has zones, not one temperature
This is the step almost every piece on this topic leaves out entirely. A wood fire isn’t a dial you set once. It has a hot zone directly over flame, a moderate zone to the side, and a cooler zone near the edges, and those zones shift as the fire burns down. Stuffed French toast needs a moderate zone, not the hottest one, because the exterior will crisp long before a thick, filled sandwich heats through in the center. Searing in the hot zone first for color, then finishing in the moderate zone, respects how the heat actually moves instead of assuming it’s uniform like a stovetop burner.
Tip: Watch the coals, not a clock. A fire that’s mostly glowing embers with low flame gives you steadier, more even heat than one still producing active flame.
Step 5: Use fat deliberately for the crust, not just to prevent sticking
Butter or a neutral oil does more than stop sticking. A thin, even layer across the cooking surface is what actually produces the shattering crust that gives this dish its name, because fat conducts heat into the bread’s surface starch more evenly than dry contact with a hot pan or grate. Too little fat and you get pale, leathery toast; too much and it turns greasy before the center ever catches up.
Tip: Re-butter the surface between batches rather than relying on what’s left from the first round. Fat burns off fast over open flame.
Step 6: Let it rest before cutting
Cutting into stuffed French toast straight off the fire is almost guaranteed to spill the filling, because the center hasn’t finished setting and is still at its loosest point. A short rest allows the custard and filling to firm slightly as residual heat equalizes, so the first cut shows a clean, creamy center instead of a flood.
Tip: Tent loosely rather than wrapping tightly, so the crust doesn’t steam and soften while it rests.
Quick tip: If you only take one change from all of this, make it the heat-zone step. Searing hard and finishing gentle solves more crispy-outside, raw-middle complaints than any change to the bread or the filling ever will, because it directly addresses the uneven way wood fire actually behaves rather than treating it like a standard stovetop.
The mistakes that show up most often
- Testing a recipe on a stovetop, then assuming it will transfer directly to live fire without adjustment.
- Using soft, fresh bread that tears during stuffing and soaks unevenly.
- Leaving the side seams unsealed, so filling escapes before the center sets.
- Cooking entirely in the hottest zone, which chars the crust long before the inside is warm.
- Skipping the rest period and cutting immediately, causing the filling to spill rather than hold its shape.
- Assuming leftover dairy-based filling is safe to leave at room temperature near the fire for extended periods; it should be kept chilled until just before it’s stuffed and cooked.

Mick Hudson
Low-and-slow recipes, rubs, sauces and fire management from our pitmaster team.